Driving an Audi or Volkswagen vehicle over several years often introduces a minor yet frustrating issue during refueling visits: the rubber tether connecting the fuel filler cap to the fuel door snaps.
Once the strap breaks, there is no secure place to hang the cap while fueling. Leaving it balanced precariously on the pump handle or letting it dangle against the car paintwork risks cosmetic scratches and dropping the cap.
Official dealer service centers do not supply the rubber tether as an individual spare part. Instead, they quote an entire fuel cap assembly replacement, incurring substantial costs of approximately $50 to $100 including labor.
However, using a $10 aftermarket replacement rubber ring and a utility knife, the tether can be replaced cleanly in under five minutes without risking body panel damage. This guide details the practical replacement procedure and crucial precautions applicable to Audi A3, A4, A6, and Volkswagen Golf and Tiguan platforms sharing identical fuel cap architectures.
Job Overview & Requirements
| Item | Details |
|---|---|
| Applicable Models | Audi A3 (Shared platform with VW Golf, Passat, Tiguan, Audi A4, A6) |
| Required Part | Aftermarket fuel cap tether strap ring (Curved profile option) |
| Tools Needed | Utility knife, work gloves (No trim pry tools or screwdrivers needed) |
| Working Time | Approximately 5 minutes |
| Difficulty Level | Low (Straightforward cutting and push-fit elastic engagement) |
1. Root Cause of Tether Failure and Replacement Part Preparation
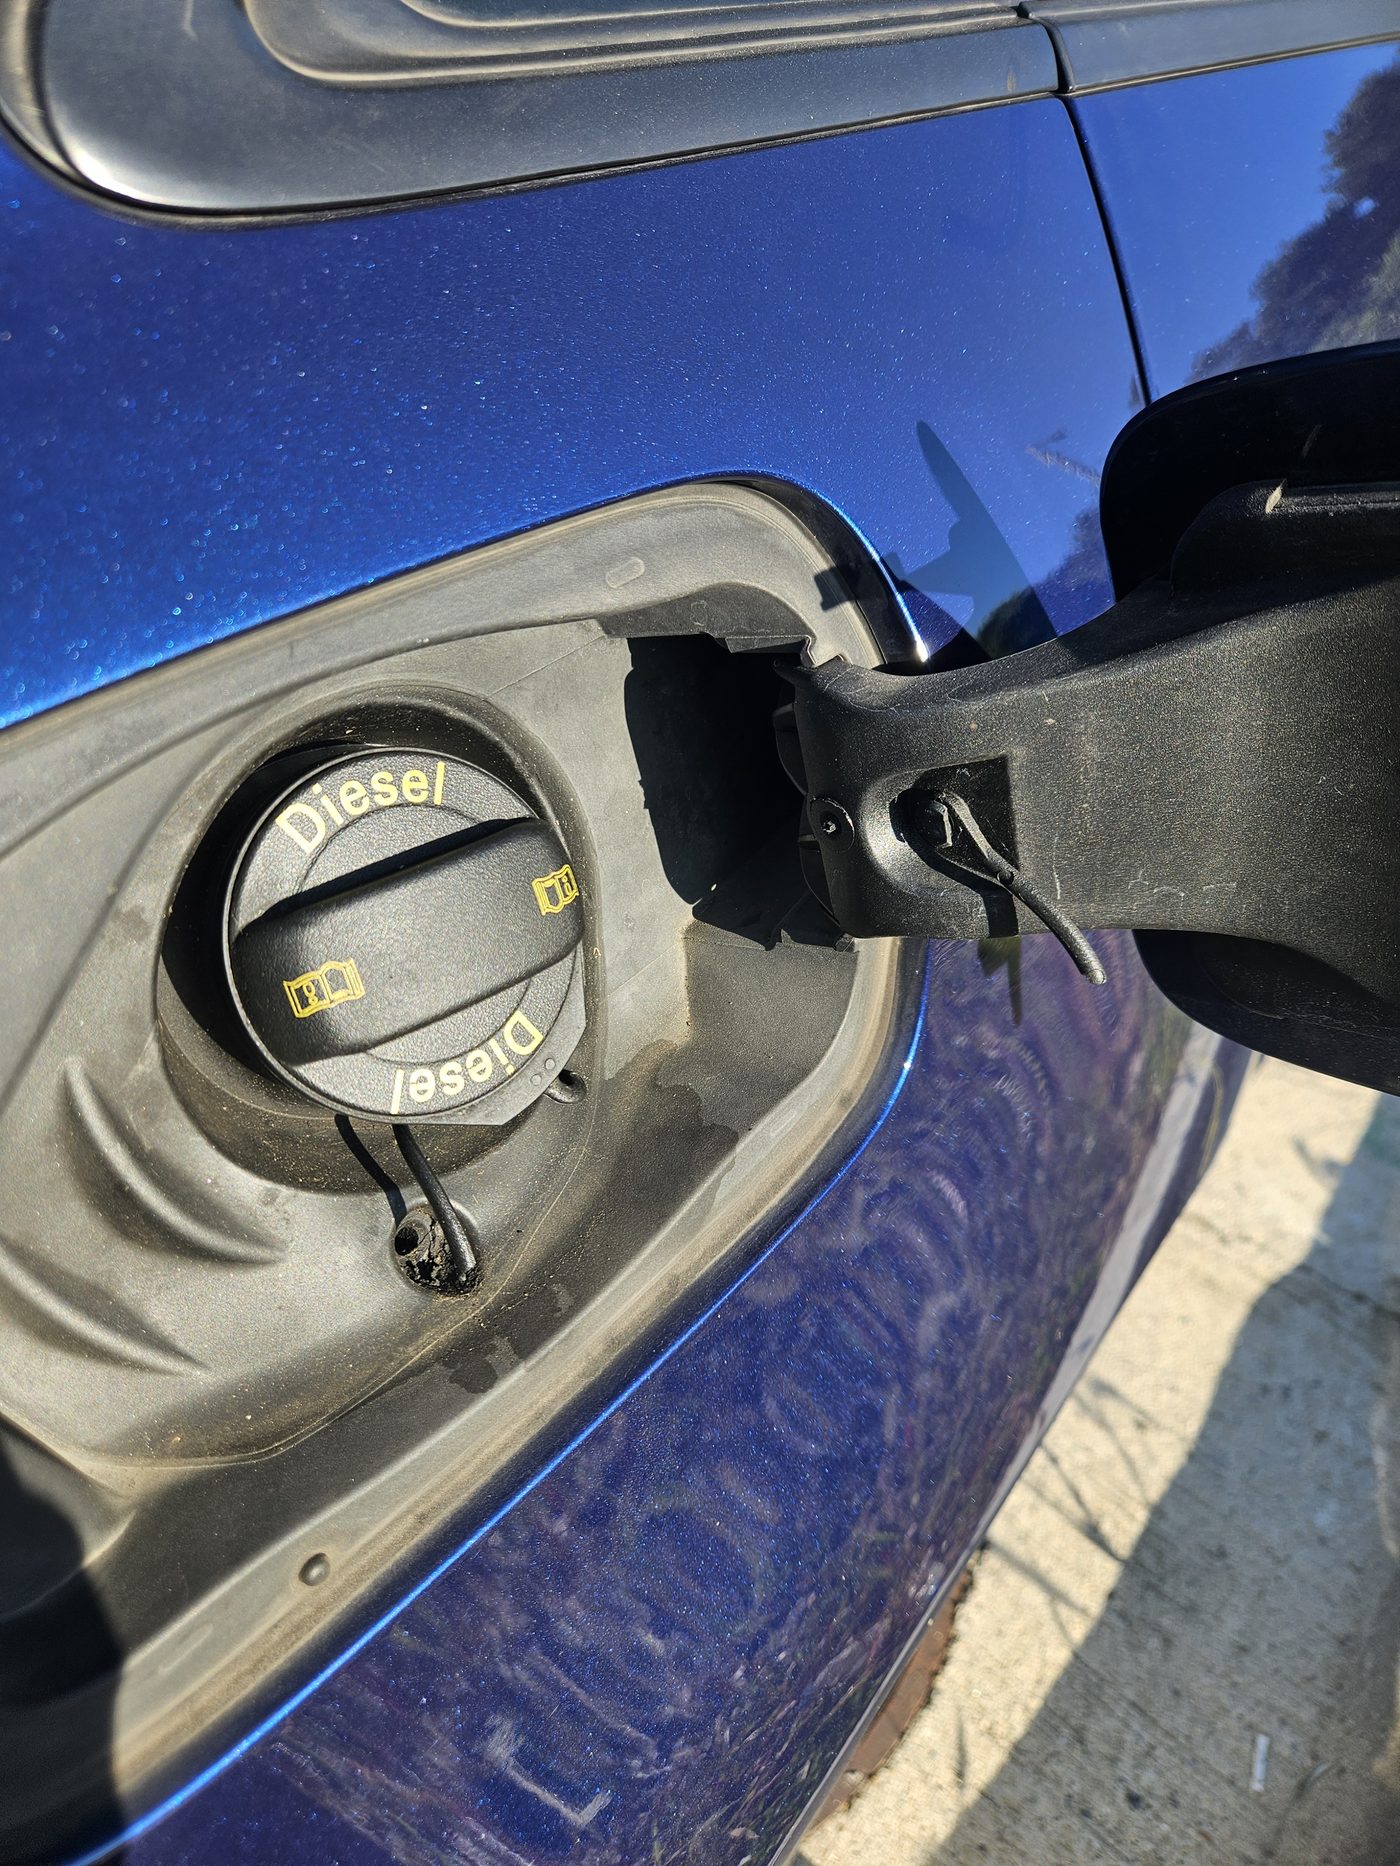 (Figure: Rubber tether snapped from repeated bending fatigue and natural aging over 10+ years of ownership)
The root cause here has nothing to do with fuel vapor leaks or seal failure within the cap itself. Over more than a decade of daily driving, opening and closing the fuel cap hundreds of times subjected the rubber tether to continuous bending and twisting fatigue. Combined with exposure to seasonal outdoor temperature fluctuations, the elastomer naturally hardened over the years until reaching its fatigue threshold and snapping. Because the cap’s internal pressure valve and sealing gasket remain in perfect condition, replacing only the tether strap completely resolves the problem.
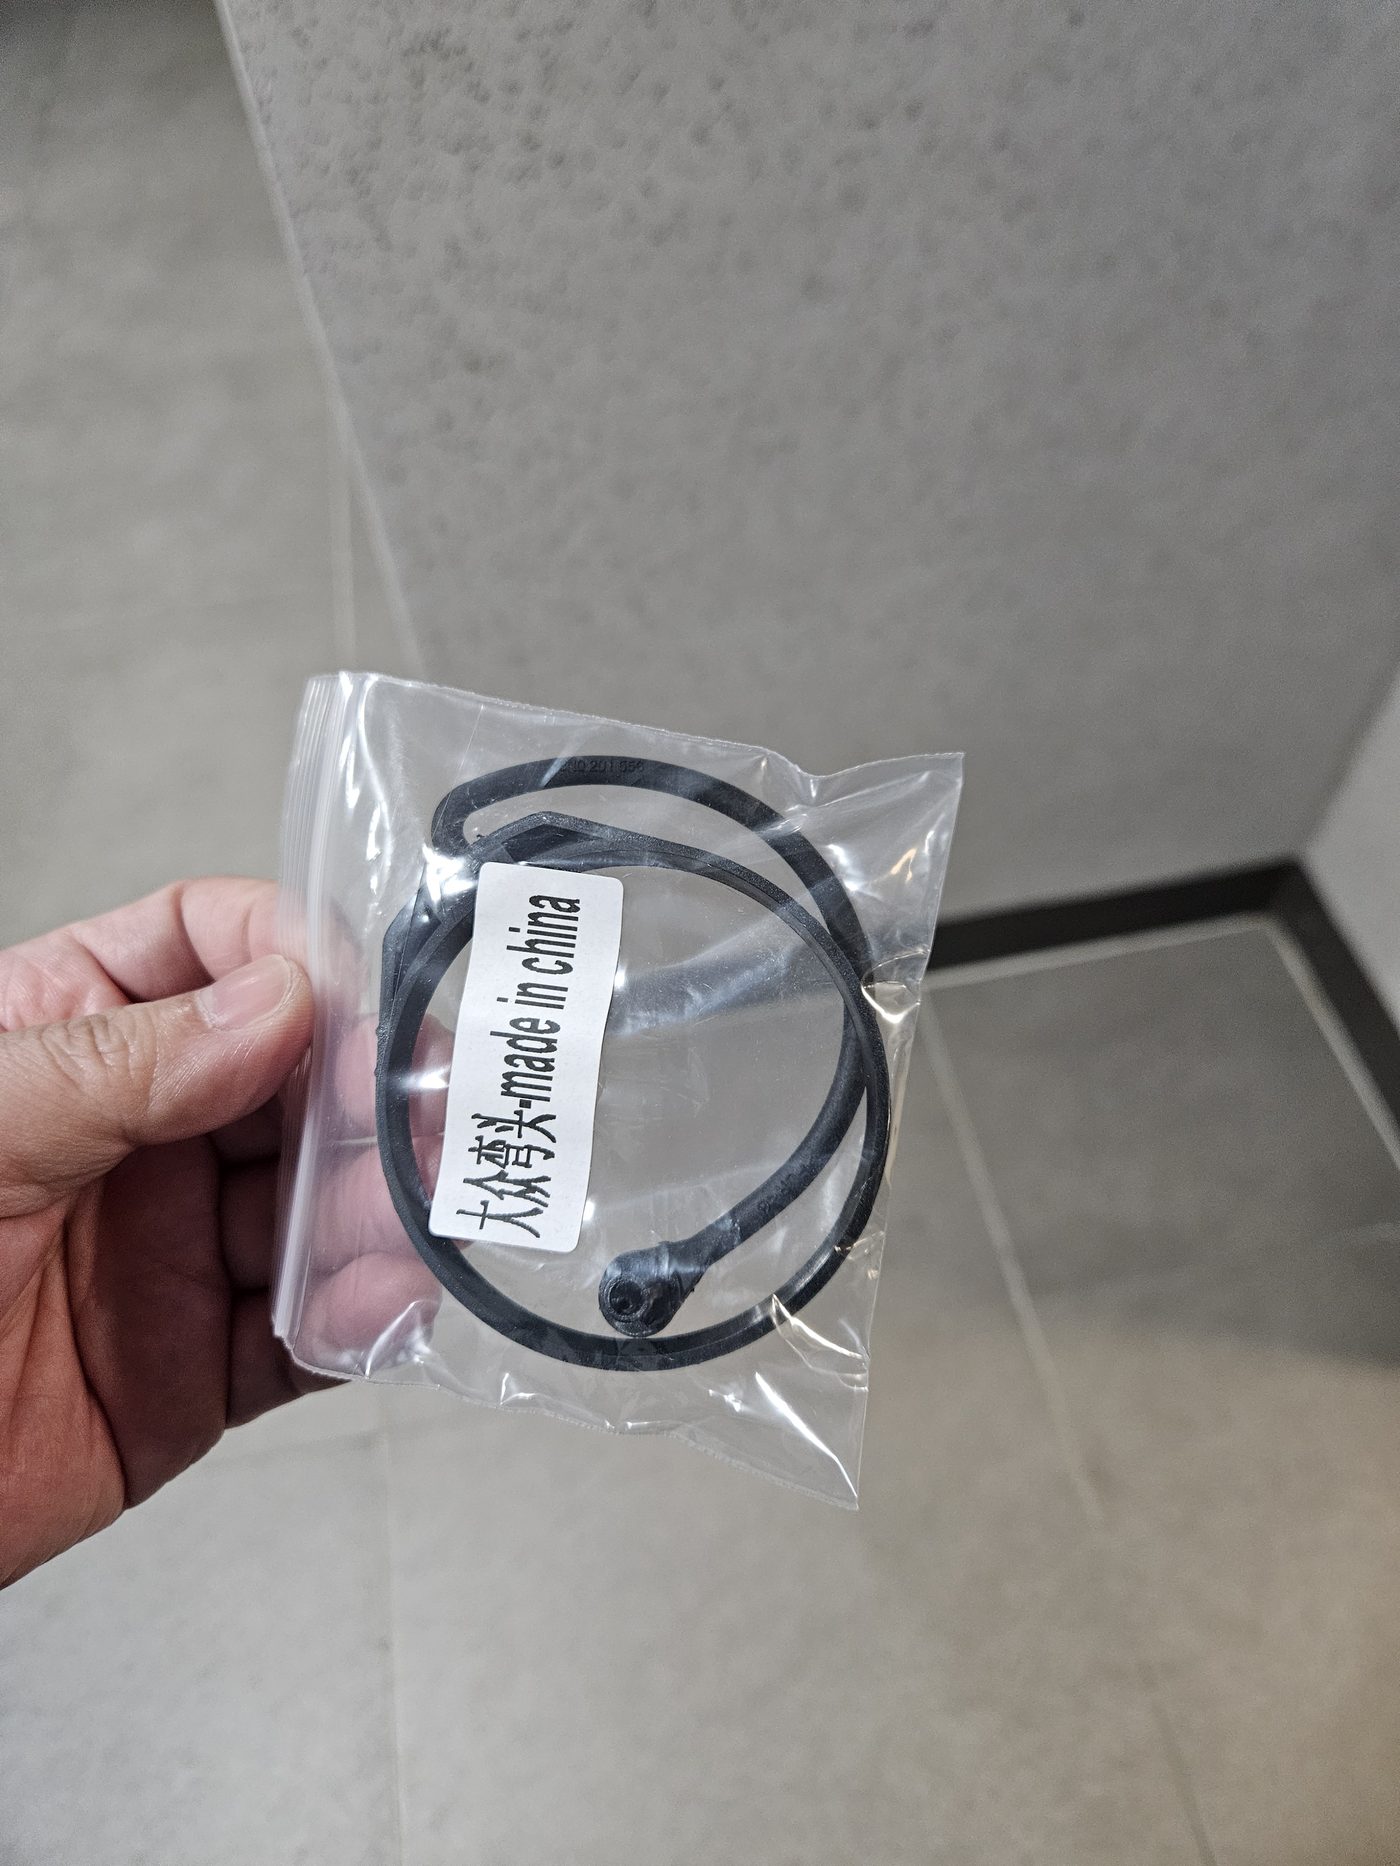 (Figure: Molded replacement part integrating cap mounting ring, tether cord, and door retaining eyelet)
The aftermarket replacement part features an integrated design comprising the circular cap mounting ring, flexible connecting tether, and mounting eyelet for the vehicle-side pin.
The material exhibits resilient elasticity and thickness comparable to OEM specifications, ensuring reliable long-term durability. When sourcing the part, select the appropriate profile (Curved vs. Straight) corresponding to your specific vehicle model (the curved variant applies to the Audi A3).
2. Critical Safety Rule: Do Not Pry Out the Vehicle-Side Retaining Pin
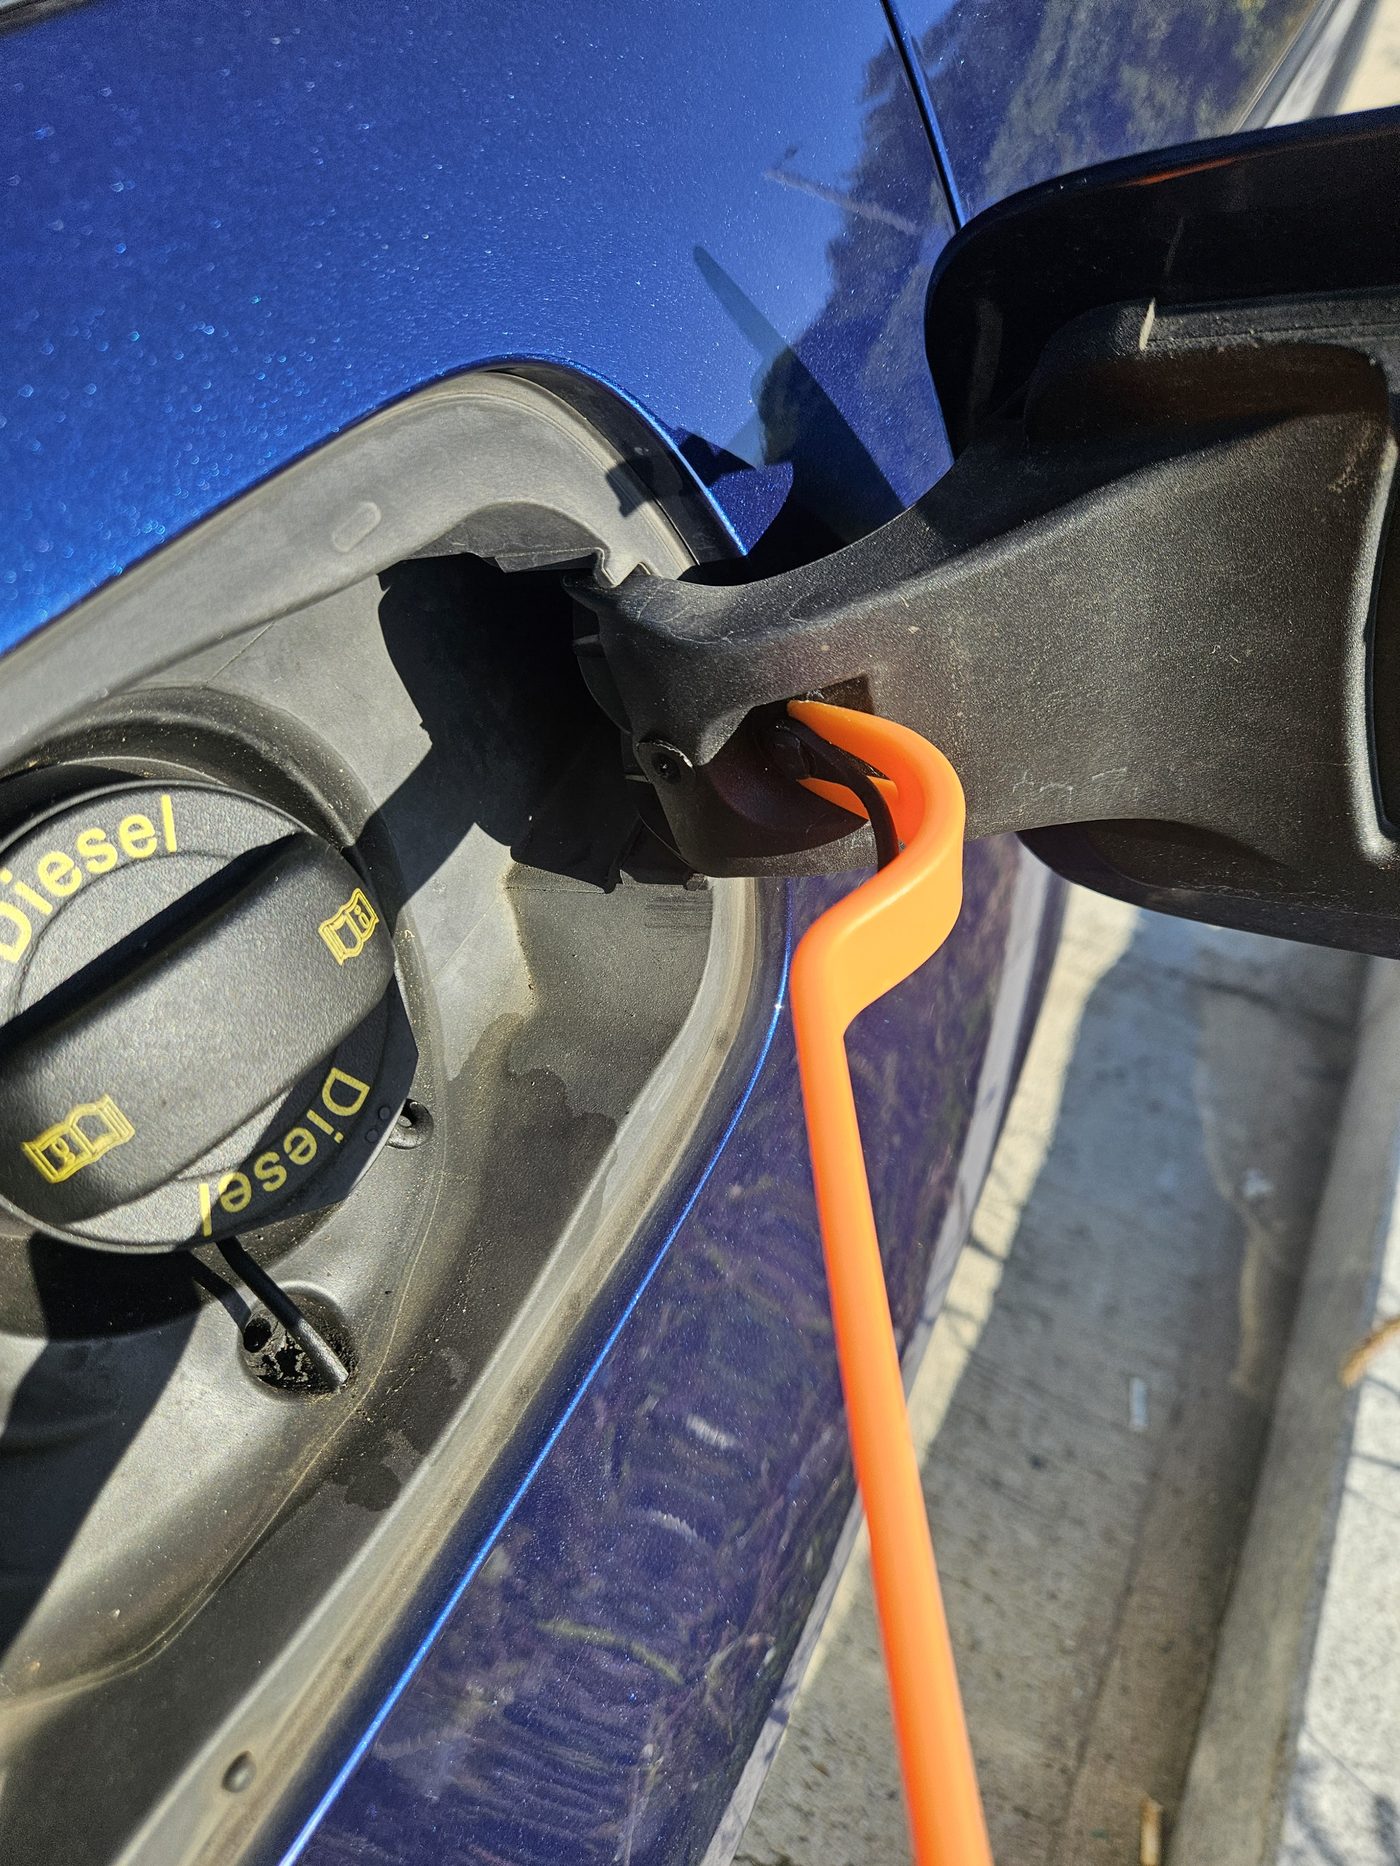 (Figure: Plastic retaining pin bracket mounted directly on the vehicle fuel door housing)
Before beginning work, one crucial physical precaution must be observed.
Online guides often mistakenly advise prying out the plastic retaining pin on the fuel door using trim tools or flathead screwdrivers. On older vehicles, this plastic bracket is already embrittled. Applying leveraged force risks snapping the pin or cracking the fuel door housing bracket itself, necessitating an expensive full fuel door assembly replacement.
Leave the vehicle-side pin intact. Simply slice away the degraded residual rubber and push the new elastic tether over the pin head.
3. Slicing Residual Rubber and Removing the Old Cap Ring
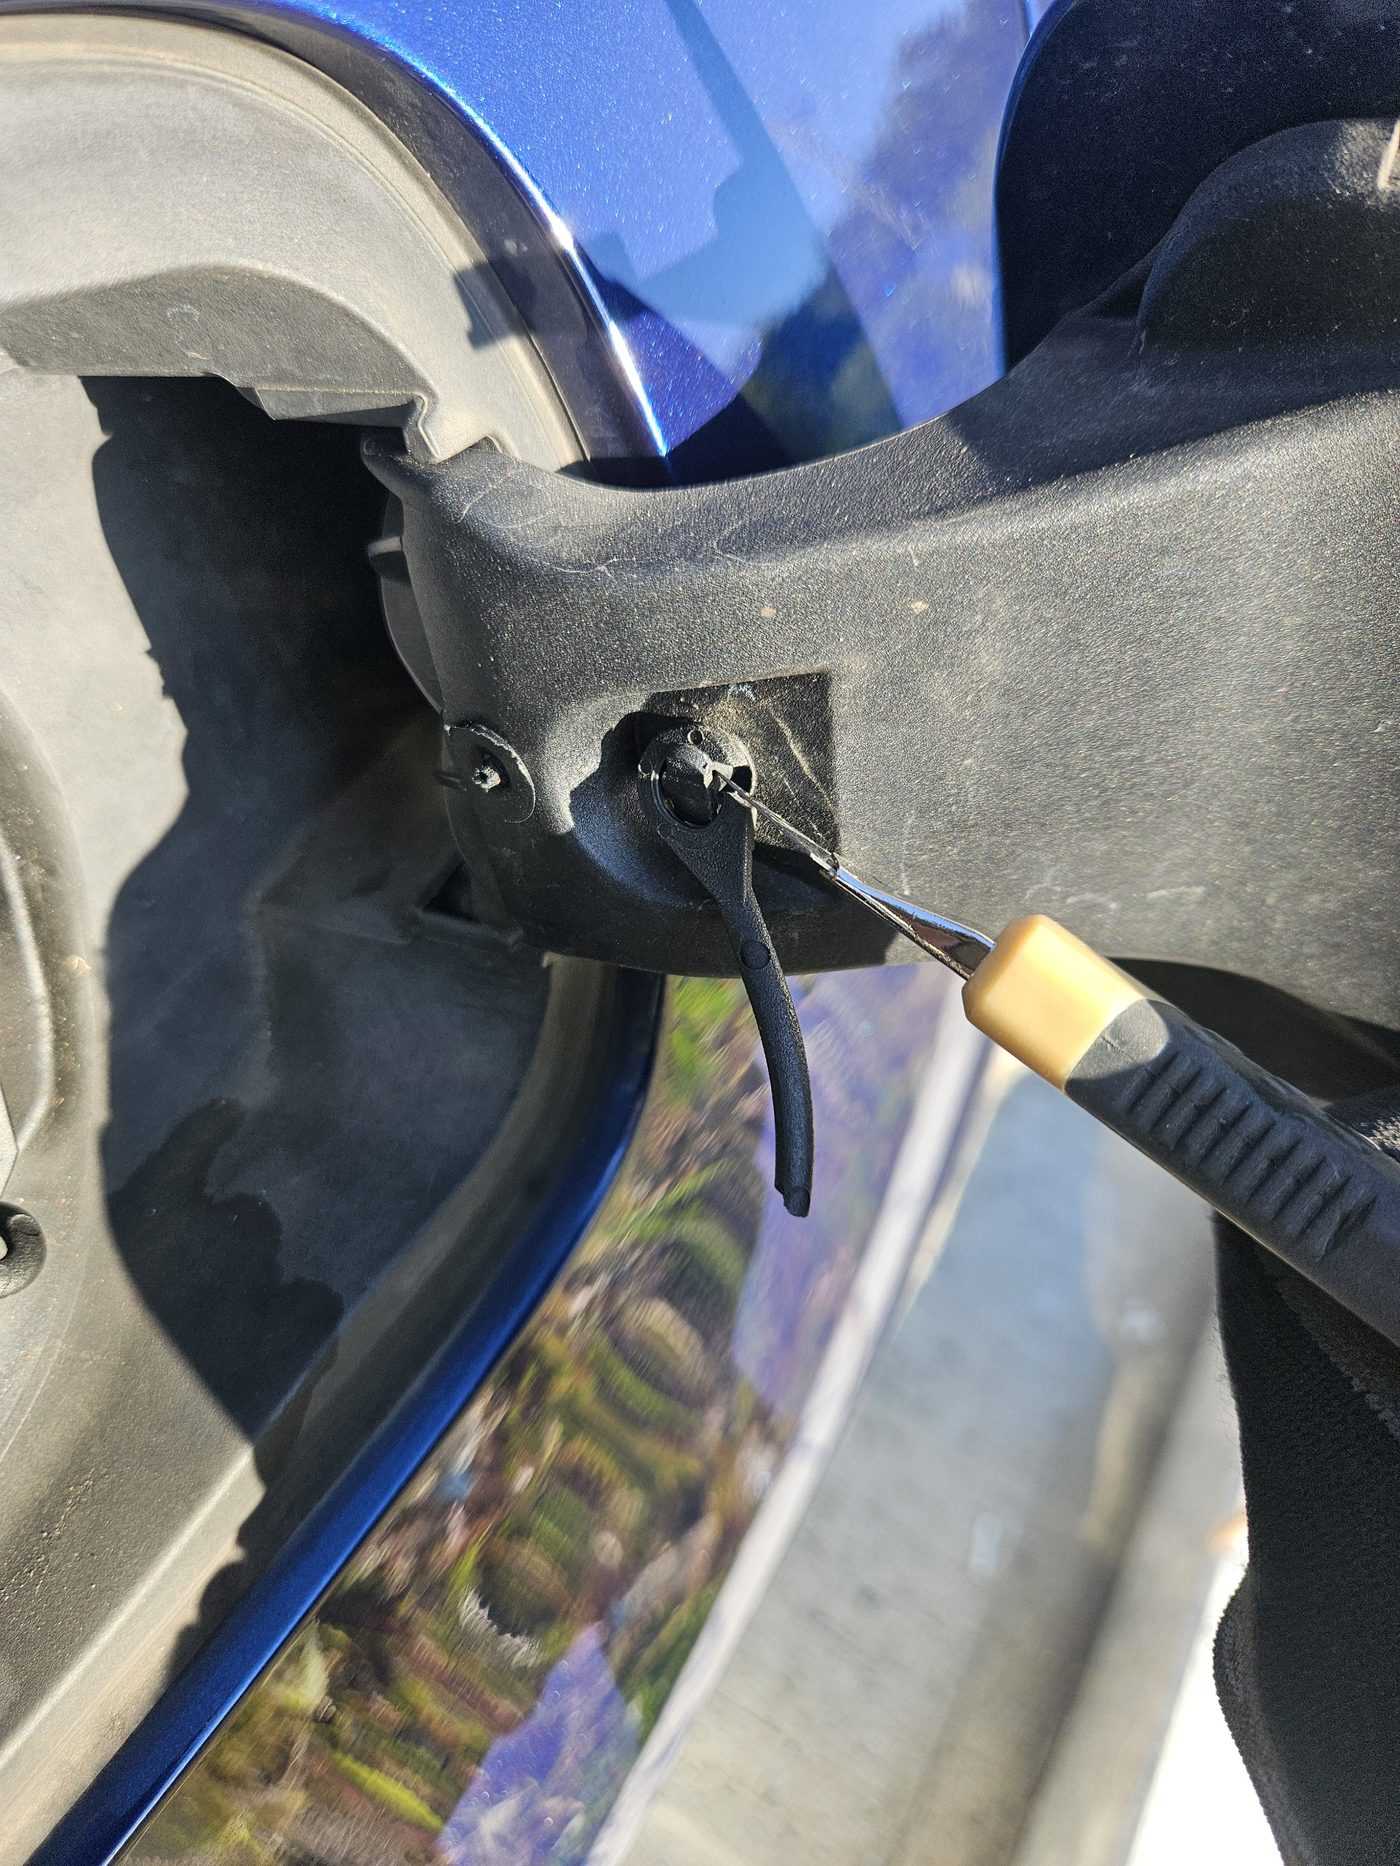 (Figure: Carefully slicing away the severed rubber stub without scratching the plastic pin)
Using a utility knife, carefully score and slice the remaining rubber nub clinging to the fuel door retaining pin. Lightly cut along the rubber sleeve without scoring the underlying plastic pin head, allowing the old piece to slide off cleanly.
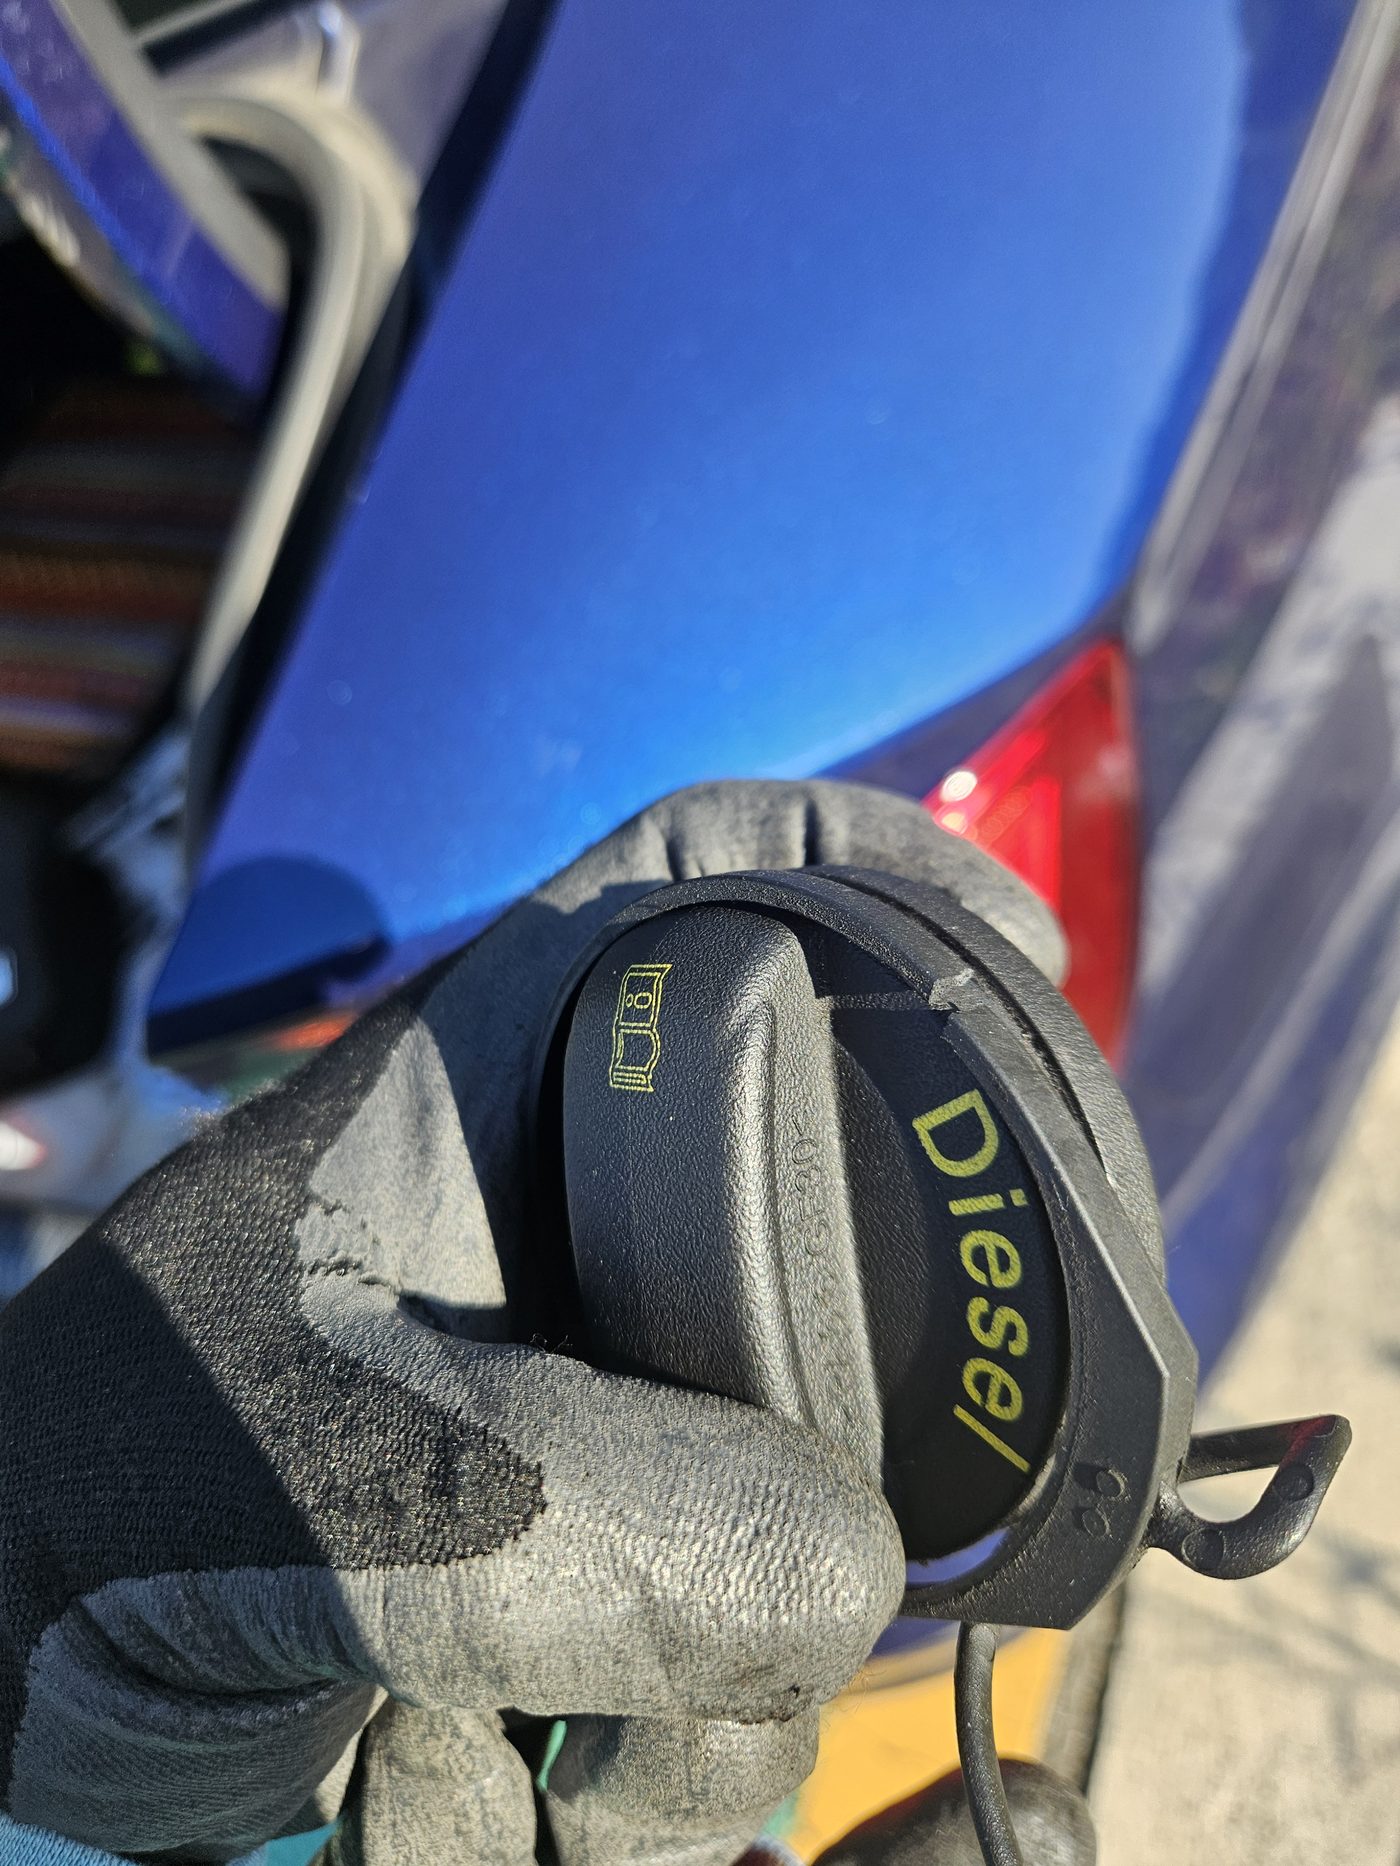 (Figure: Slicing the worn plastic retaining ring seated in the fuel cap body groove)
Next, remove the original ring encircling the fuel cap body. The ring is firmly seated in the perimeter groove and cannot easily be stripped by hand. Slice cleanly through the ring cross-section with the utility knife; once the continuous loop is broken, tension releases and the ring pulls away effortlessly.
4. Inspecting the Tapered Groove and Installing the New Ring
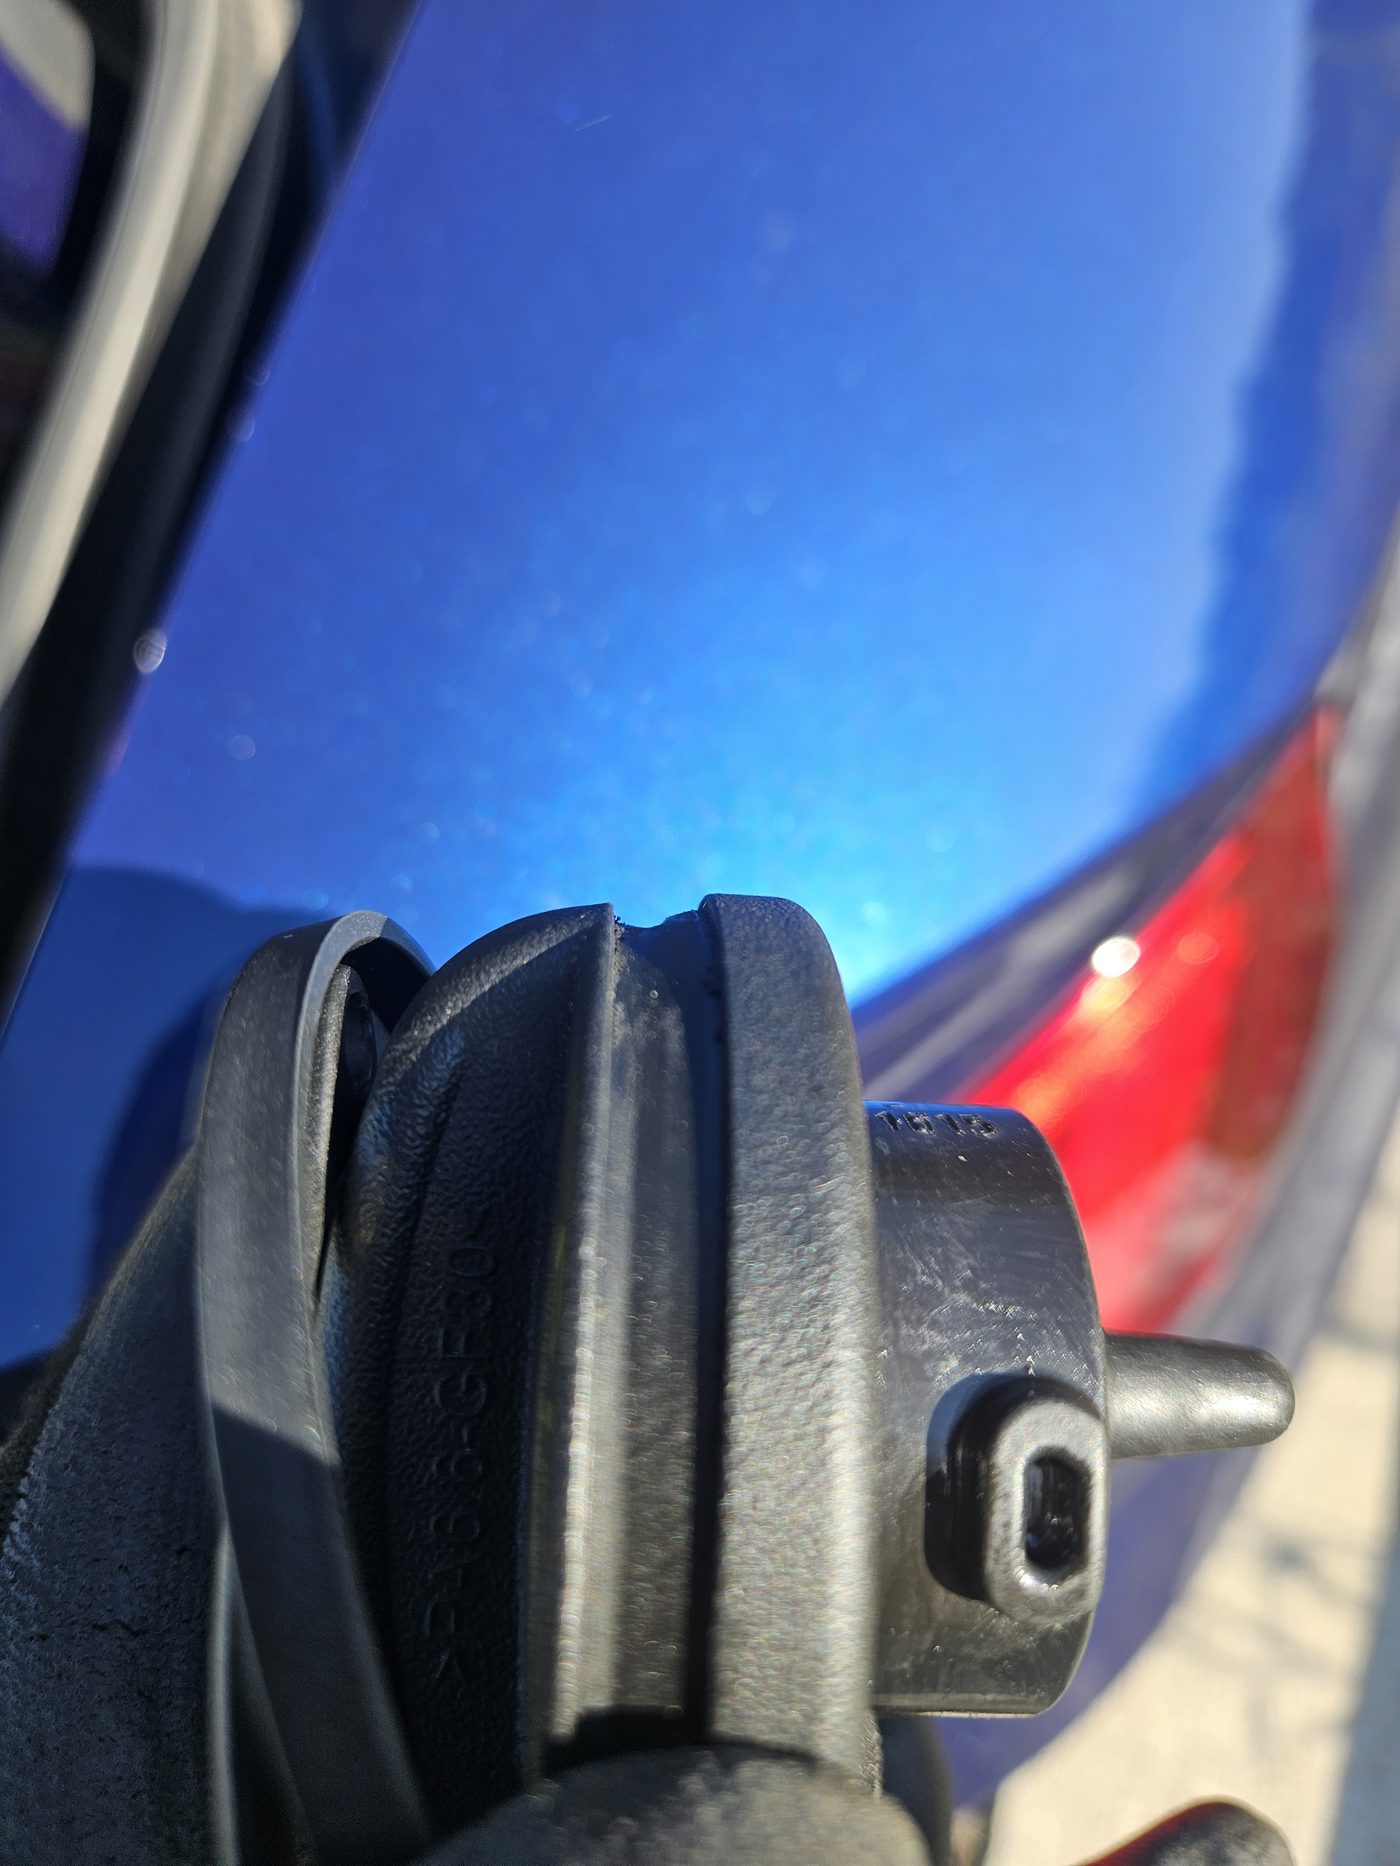 (Figure: Beveled taper profile within the fuel cap seating channel)
Inspecting the bare fuel cap body reveals that the seating groove is not a rectangular channel, but rather features an inward taper.
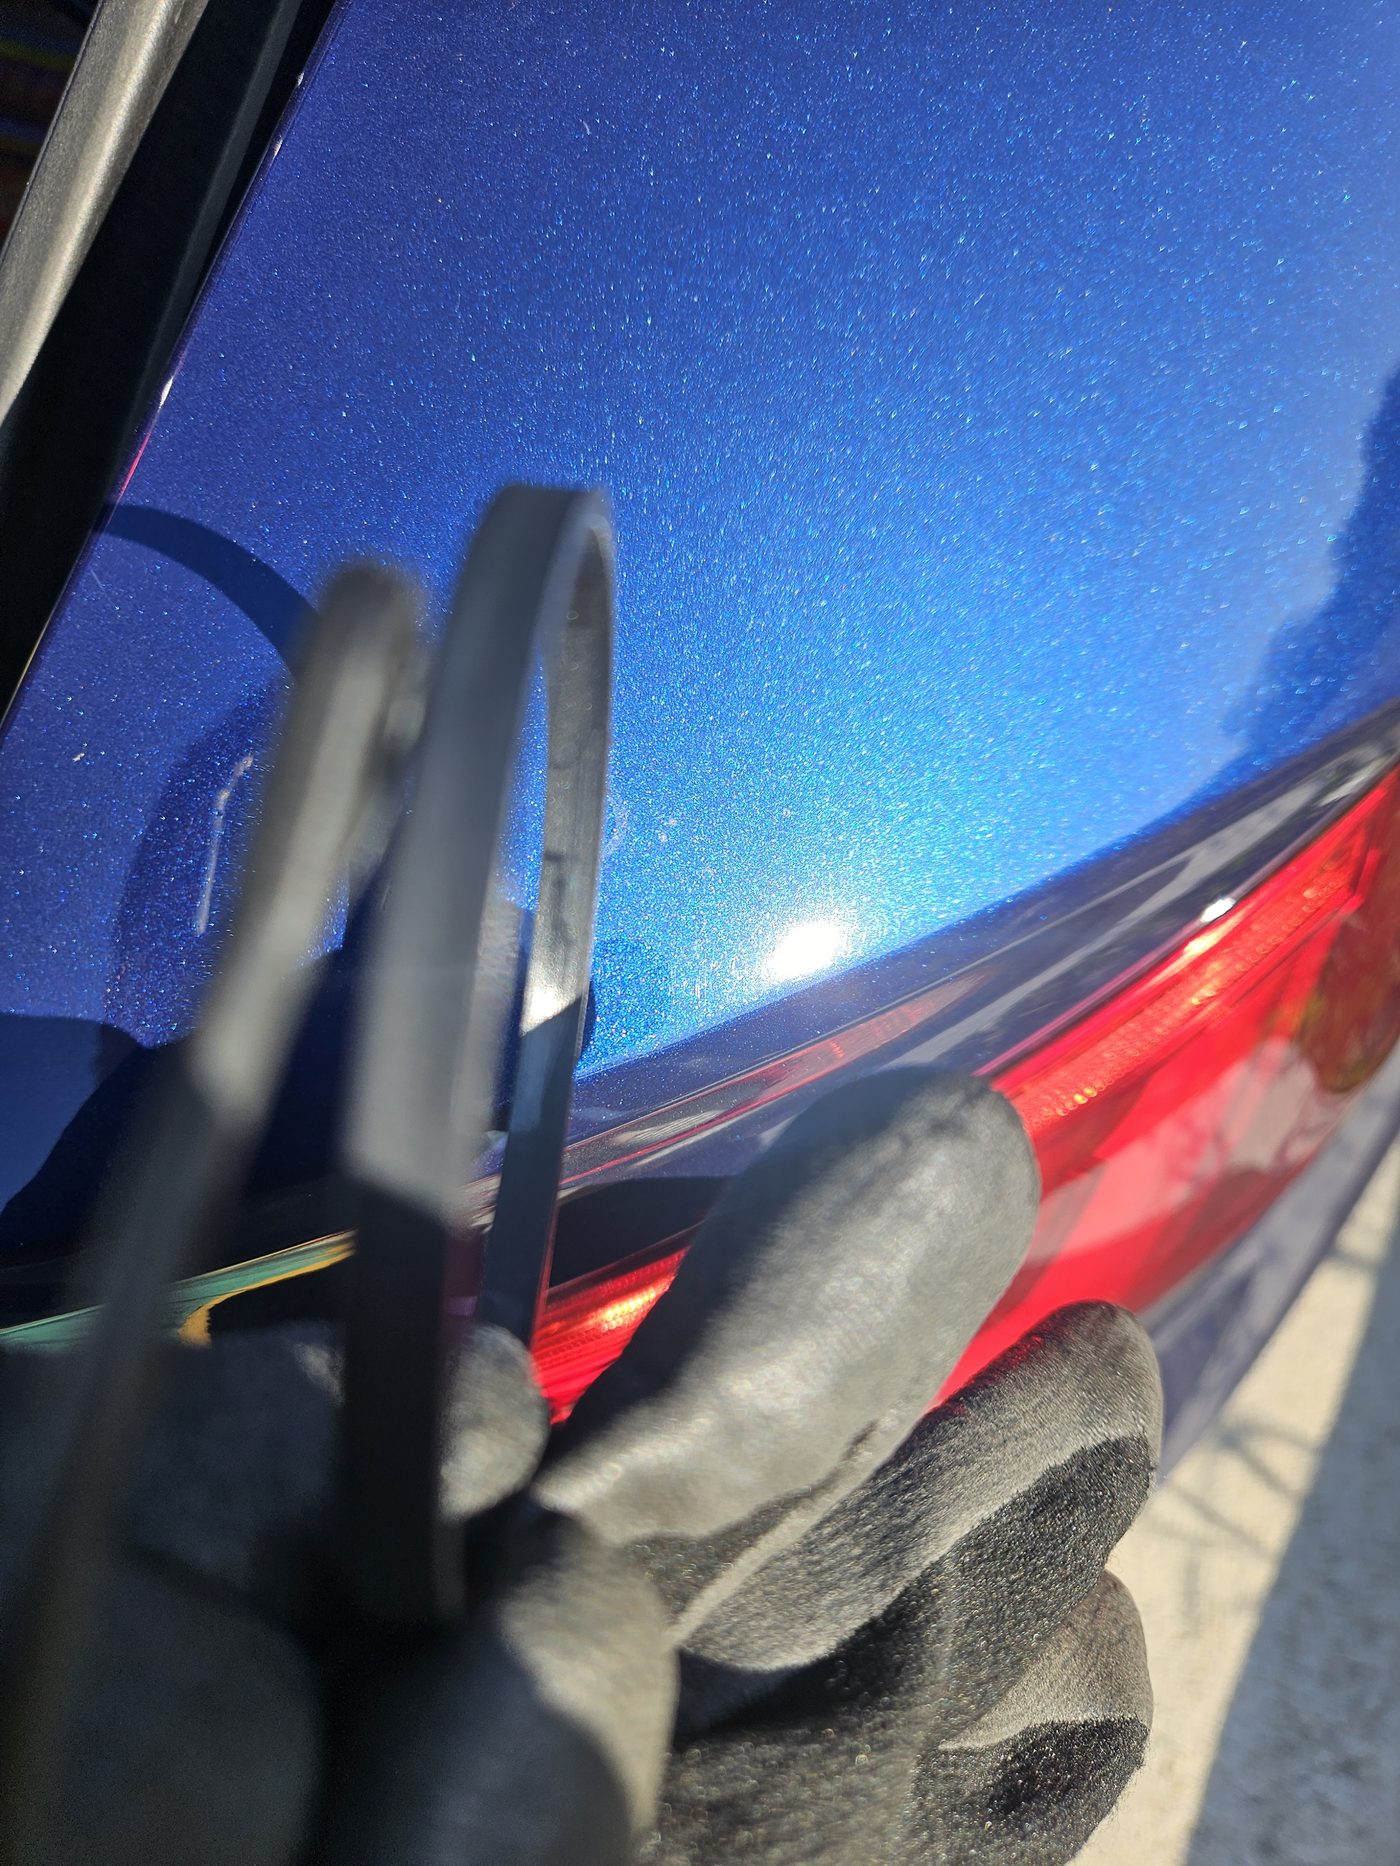 (Figure: Matching internal bevel profile on the replacement ring and installation alignment)
The replacement ring is molded with an internal bevel specifically matching this cap taper.
Verify the slope orientation, seat one side into the cap groove, and work around the perimeter pressing firmly with your thumbs. Thanks to the elastic properties of the rubber, the ring snaps smoothly into the channel without requiring external tools.
5. Verifying Alignment and Attaching to the Vehicle-Side Pin
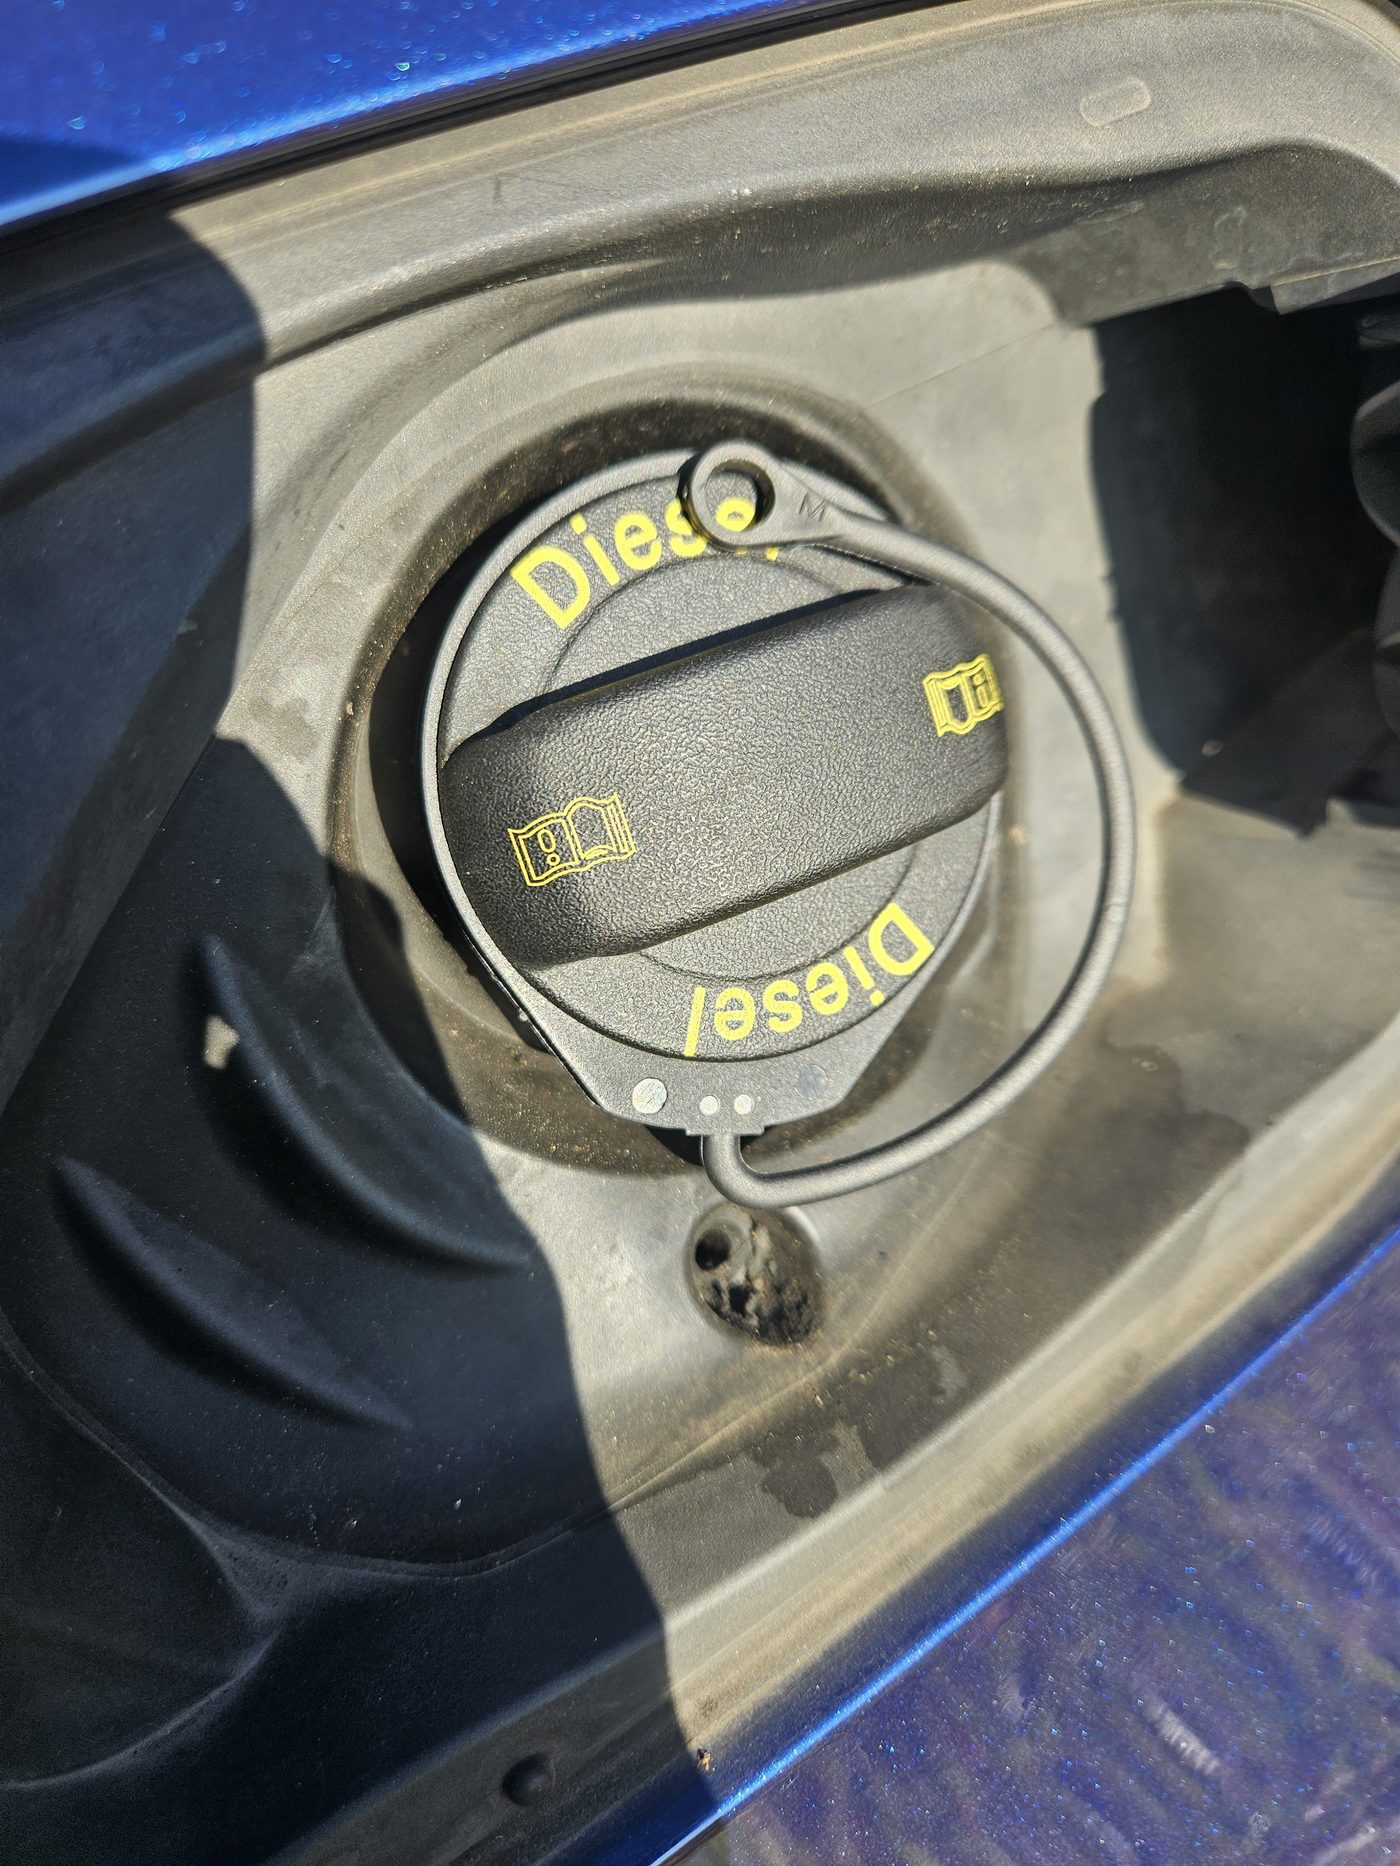 (Figure: Temporarily threading the cap to verify tether trajectory and twist-free alignment)
With the ring installed on the cap, thread the fuel cap partially into the filler neck. This step verifies that the tether cord aligns naturally with the fuel door pin without twisting or excessive tension when the cap is closed.
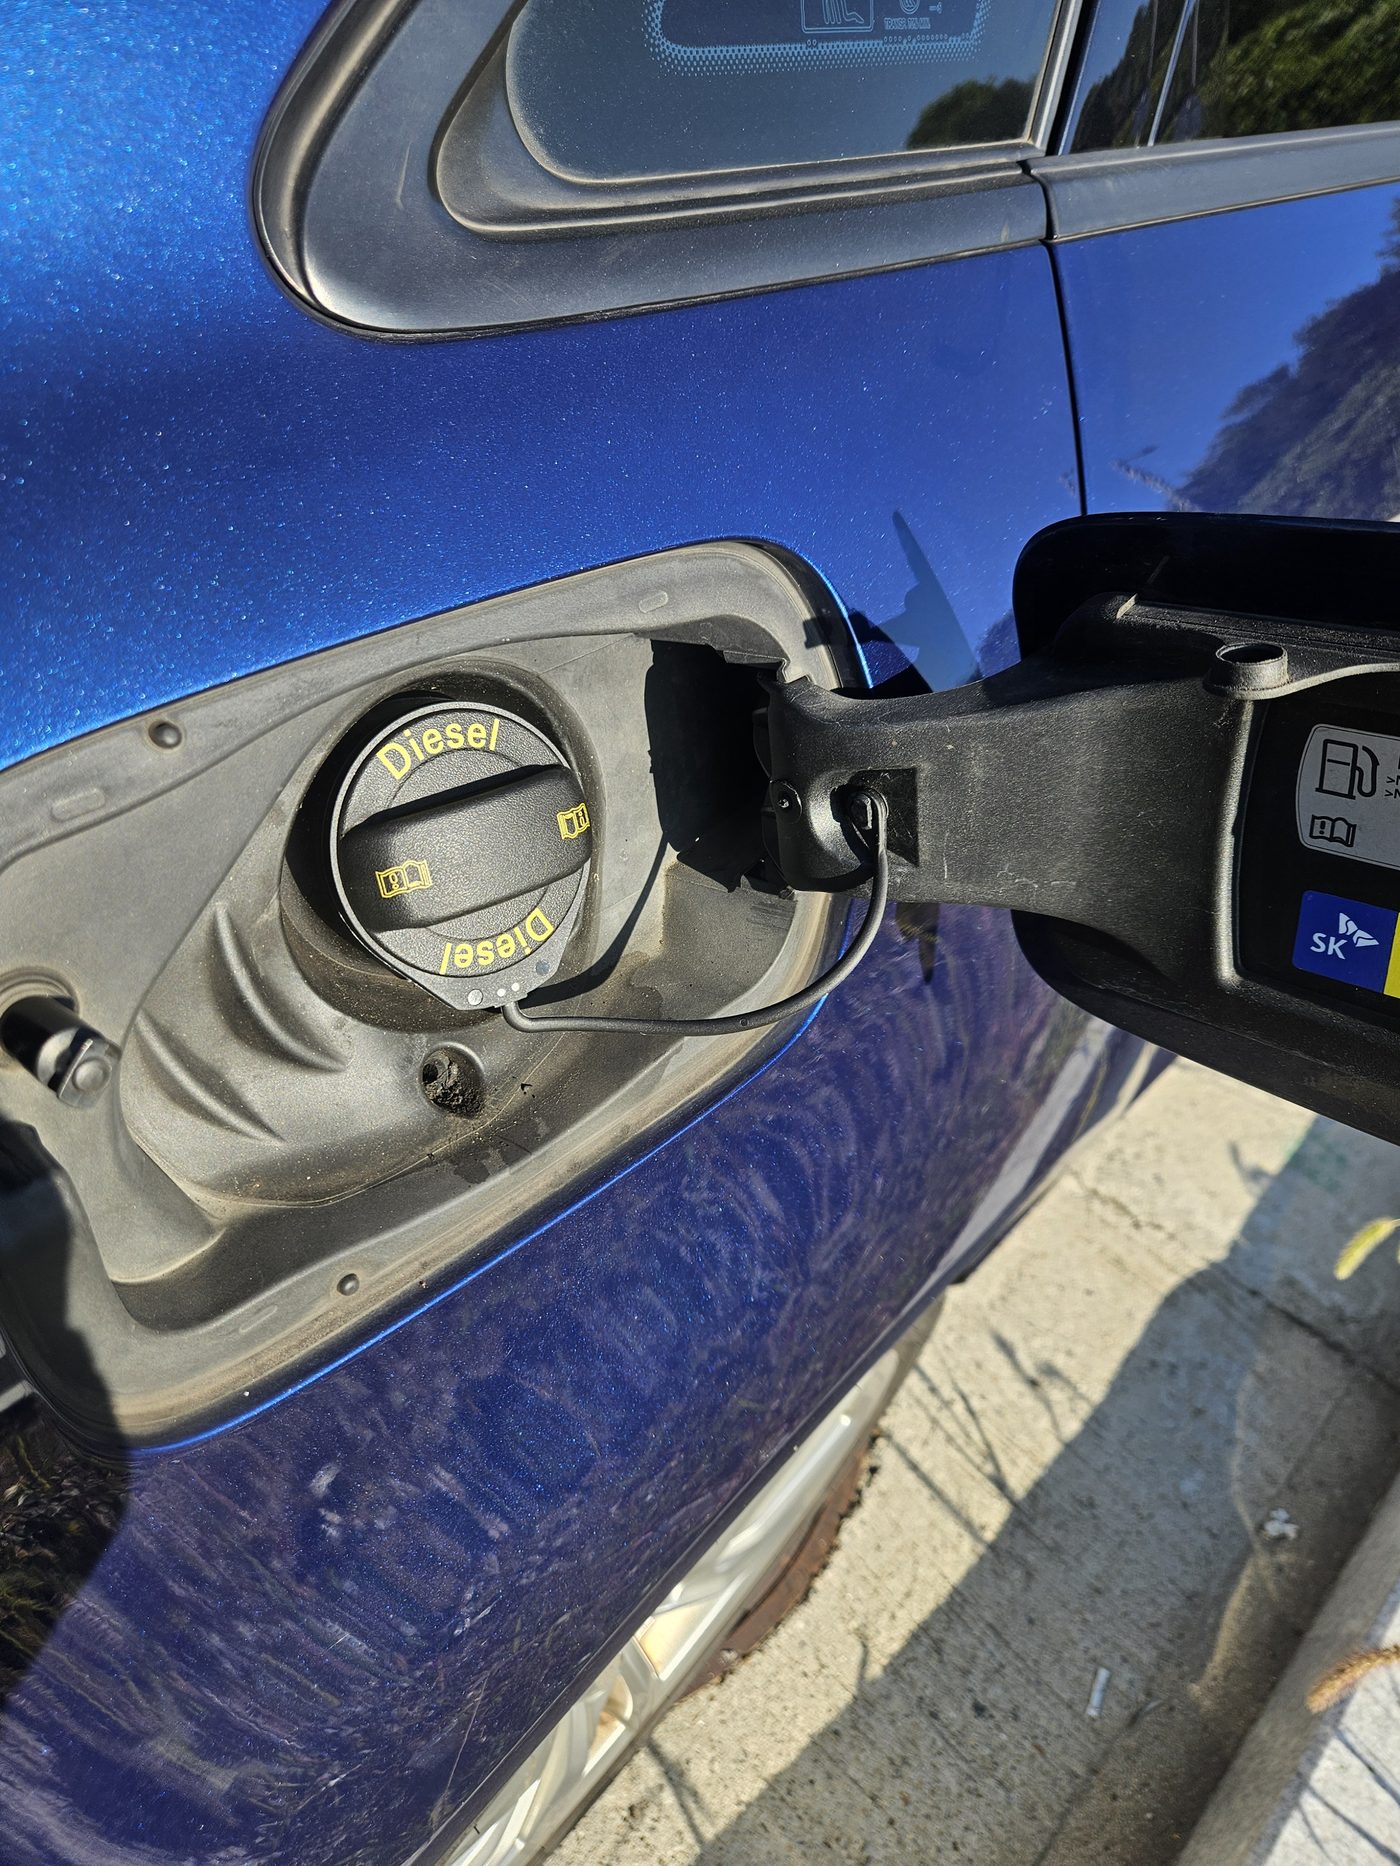 (Figure: Snapping the replacement tether eyelet securely over the fuel door retaining pin)
Once orientation is confirmed, position the eyelet hole at the tip of the tether over the vehicle-side pin head and press inward with your thumb. The pliable elastomer stretches over the pin flange and seats firmly behind it. This eliminates any need to dislodge or stress the body bracket.
6. Functional Verification and Cost Comparison
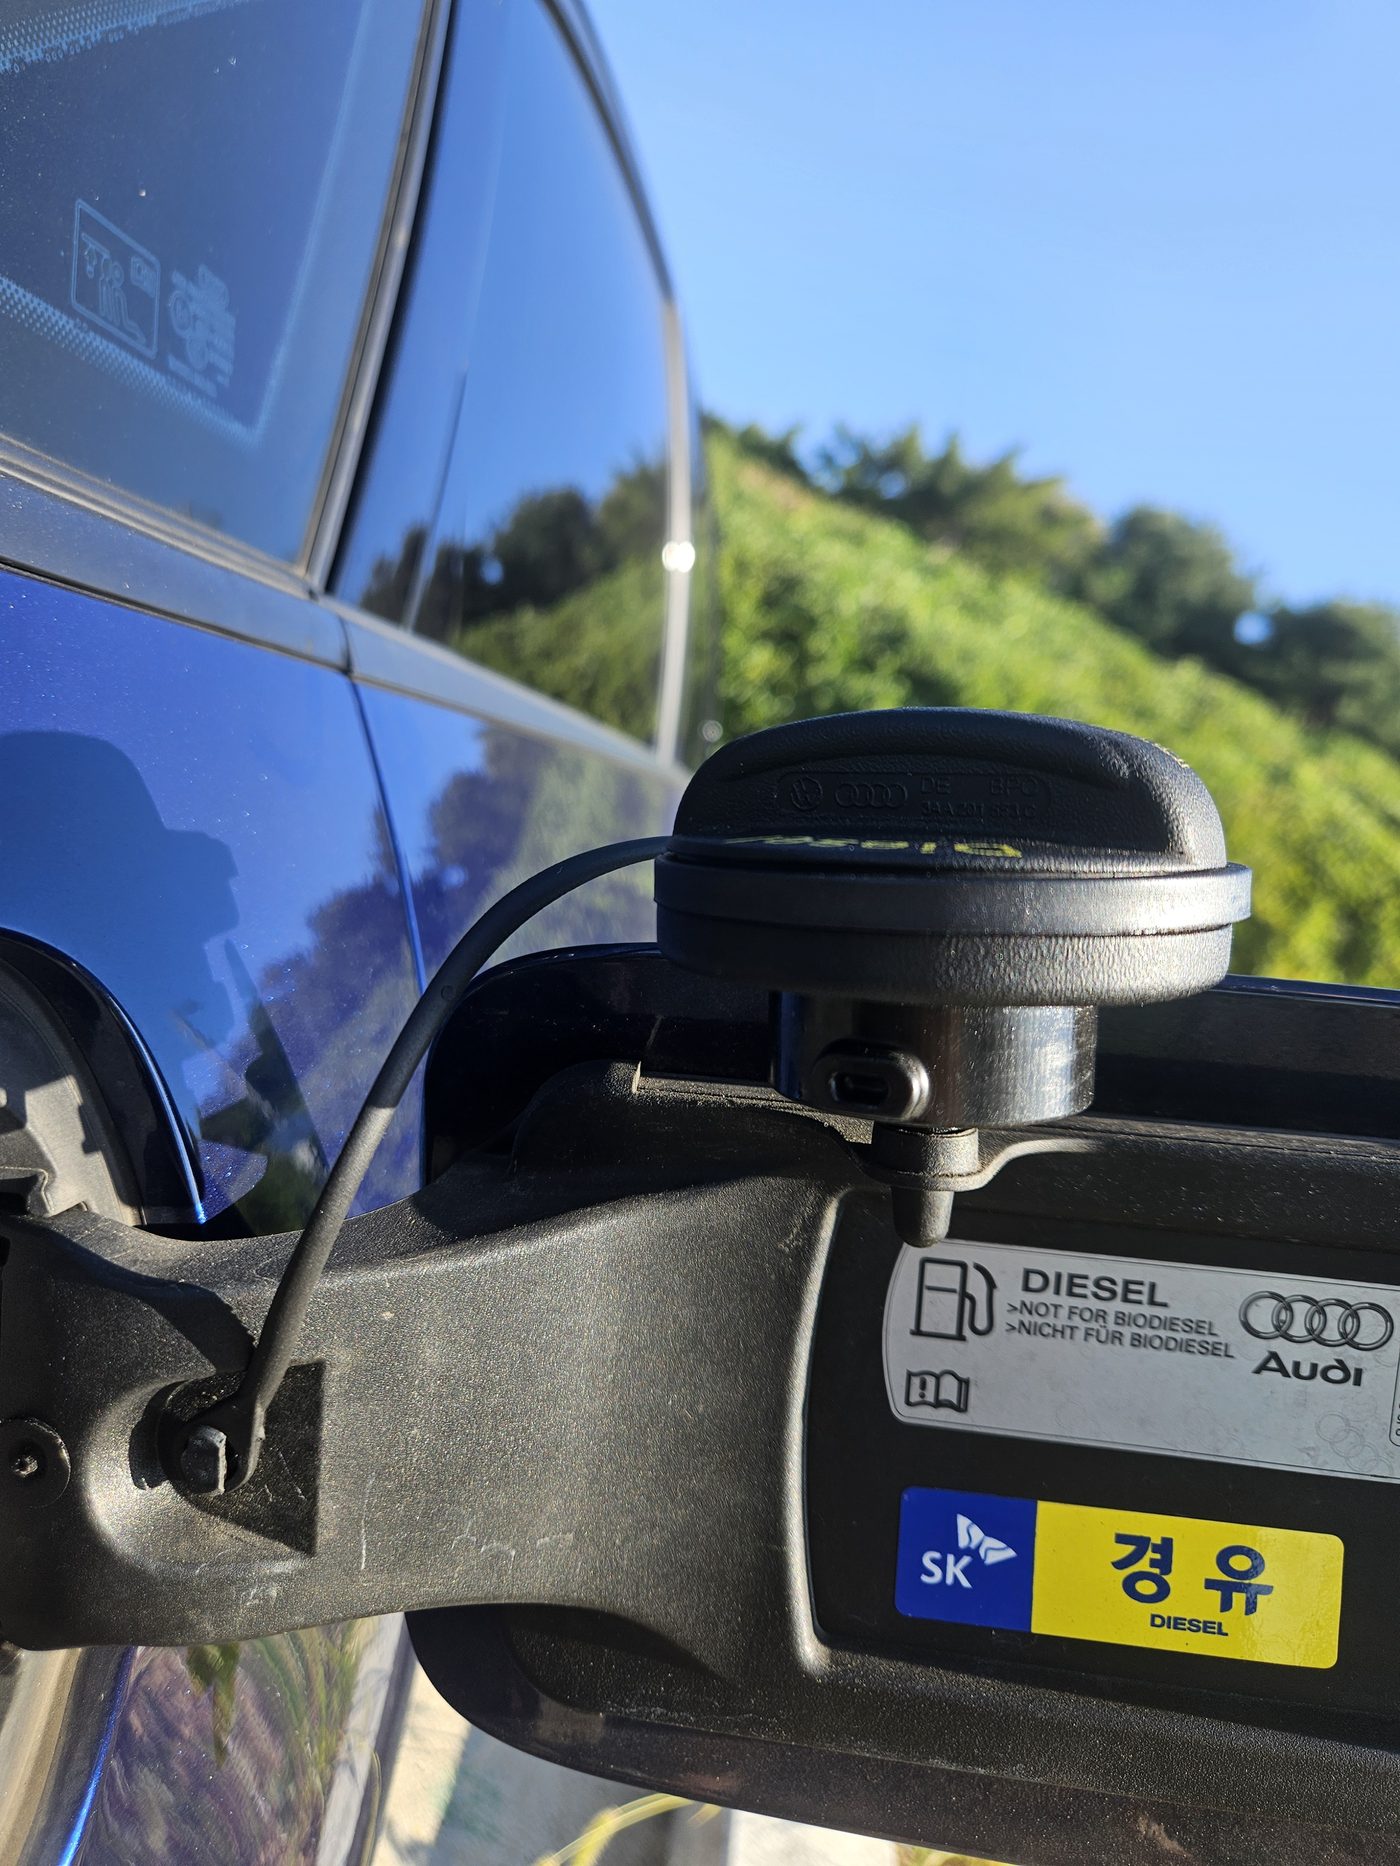 (Figure: Fuel cap suspended securely beside the filler neck without contacting vehicle paintwork)
Open the fuel cap and release it to check clearance. The cap hangs securely at a safe distance from the fender panel, eliminating the risk of accidental drops or surface paint blemishes.
Dealer Assembly Replacement vs. DIY Tether Repair
| Evaluation Metric | Dealer Service (Full Assembly) | Aftermarket DIY Tether Repair |
|---|---|---|
| Repair Method | Complete fuel cap assembly replacement | 1:1 replacement of severed tether strap |
| Total Cost | ~$50 – $100 (Parts + Labor) | ~$10 (Replacement part) |
| Duration | Service appointment booking and shop wait | 5 minutes (Immediate on-site repair) |
| Body Damage Risk | Potential bracket breakage if pried | Retaining pin untouched (0% risk) |
| Operational Result | OEM standard retention | Identical retention functionality restored |
7. Field Engineering Takeaways
- Never forcefully pry the vehicle-side pin:
Breaking the mounting bracket expands a 5-minute fix into a major repair requiring full fuel door assembly replacement. Always slice the old rubber and push-fit the replacement. - Cold weather tip:
In cold climates, rubber elastomers stiffen. Soak the new ring in warm water for 1 to 2 minutes or apply a drop of soapy water before fitting to facilitate smooth installation. - Platform compatibility across VAG vehicles:
This procedure applies across numerous Volkswagen Auto Group (VAG) vehicles sharing the MQB and MLB platforms, including Audi A3, A4, A6, Q3, Q5, and Volkswagen Golf Mk7, Passat, and Tiguan.